Showing posts with label how to. Show all posts

Tuesday, May 6, 2014

Raised Beds ( take 2 )


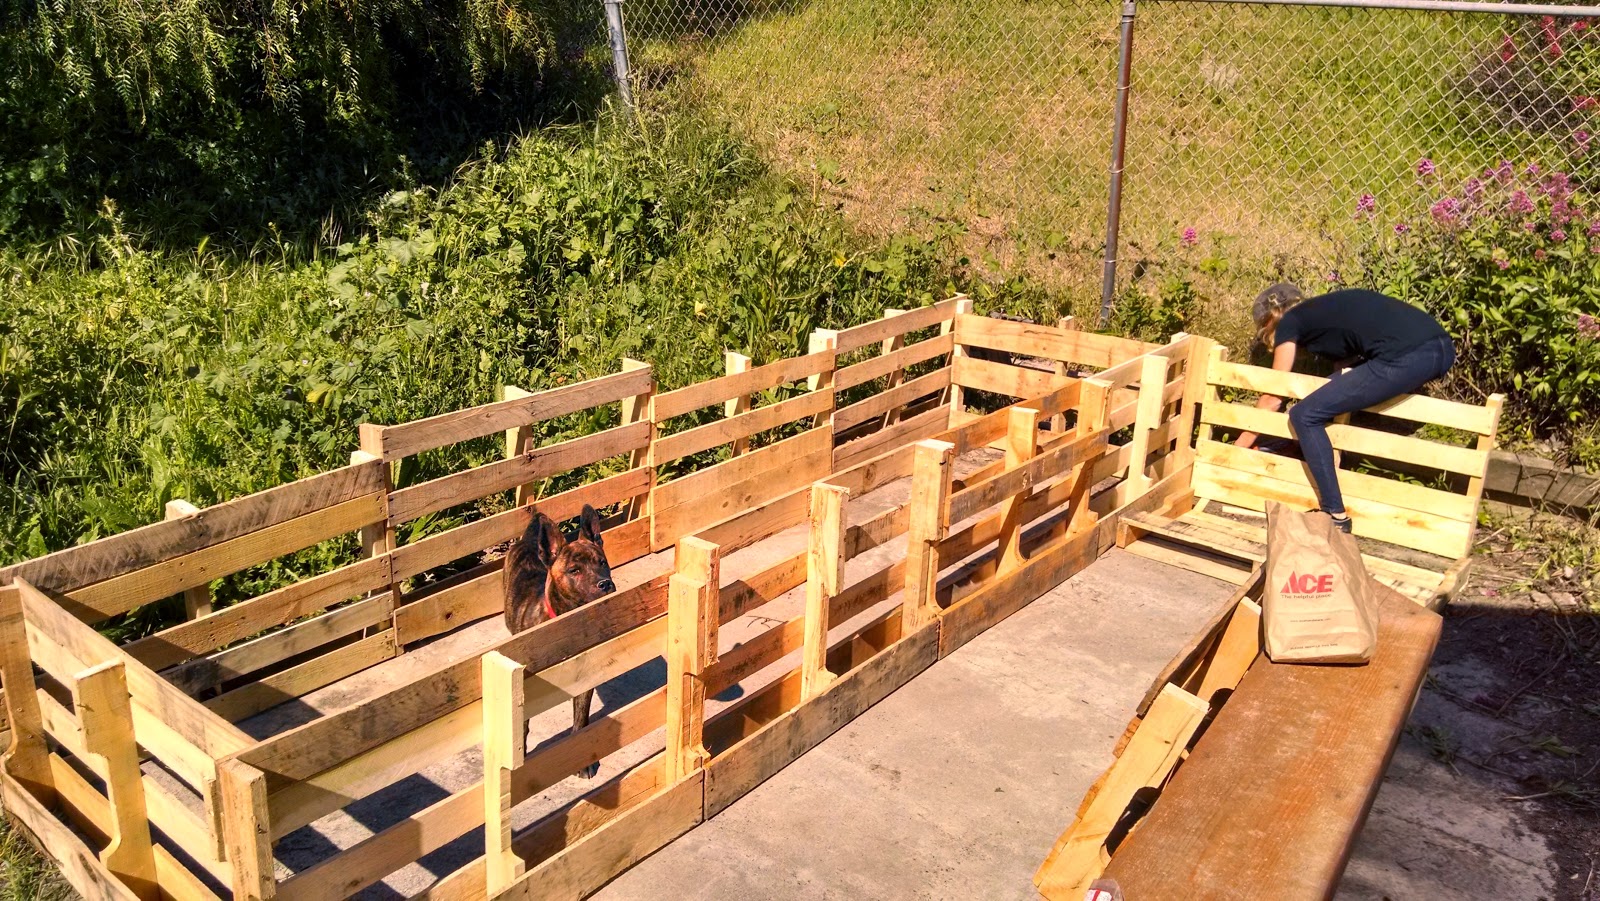
Some of you may remember our raised beds from last year. We used discarded pallets, broke them down to individual slats and rebuilt them into raised beds. Overall they worked wonderfully , but the major flaw was that they we a lot of work. It took us nearly two weeks ( on days off and after work ) to assemble 5 beds. This years effort took only about 2 hours to assemble and yielded over 80 square feet of growing area. 

As always we start with pallets.
12 in all, all cut in half.


Using wood screws we begin to piece them together.


It's a surprisingly fast process.


We lined the bottom with tree trimmings that 
would have been heading for the compost otherwise.

add 4 bales of straw 


Break up and spread the straw

Add a layer of compost

Spread to near the edges and make sure it is 6-8 inches deep.


Water thoroughly


Plan and Plant.

The medium of straw and compost has maintained an ideal temperature for growing. Our sprouts are coming up strong and fast. Some seeds ahead of their expected germination. As always we let you know how it progresses. 

Now enjoy this silly video of us ( and the dog helping ) build these beds. 


Saturday, June 15, 2013

Test your soil.

Is your soil alkaline or acidic? If you aren't sure here is a cool ( 9th grade earth science kind of cool ), cost effective and easy way to find out.  

Science Rules


You will need two containers approximately one cup in size
1/2 cup of vinegar
1/2 cup of baking soda
A couple handfuls of your soil. 

Go out in the garden and get yourself a nice fistful of dirt and split in into your two containers. 

In the first container mix in 1/2 cup of white vinegar. In the second container mix 1/2 cup of water ( mix ) and then 1/2 cup of baking soda. 

Product Placement ( I'm waiting for my check )

If container #1 begins to bubble and fizz it is alkaline. 

If you have no reaction turn your observation to container #2. Is it bubbling ? Well, you have acidic soil. 

I observed equally mild reactions placing our soil somewhere in the middle. A nice place to be since we can tilt the soil to the needs of a certain plant. Roses want some acidity... that's easy... just add some coffee grounds and the soil is suited in a couple days. 

Enough about my dirt let's get back to you. If your soil turned out to be acidic you can amend it with  wood ash or lime. If it was alkaline add sulfur or pine needles. 

Yup, you just used science. Congratulations.


Tuesday, May 28, 2013

Cool ( as a ) cucumber thing.


In yet another effort to use everything that we can get our hands on Meg grabbed some plum branches that were being pruned. The idea is to strip them of their bark, sink them into one of our raised beds, lash them together at the top with the stripped bark and use them for our cucumbers to vine.

Here is how she did it.

You will need:
  • branches of a sapling
  • a knife
  • bucket filled with water
  • pruning shears


First trim back all of the leafy branches leaving the strong main branch.
Hold onto those smaller branches though. You will need them.

After scoring the length of the branch peel back the bark

Soak bark for 15 to 20 minutes

Choose your location for the tripod


Using the soaked bark lash the tops together

Using the smaller branches begin your trellis. Lashing 
sets of branches using bark. 

Plant your cukes...

...stand back and admire. 

All in all the the project took around an hour and was fairly simple to do.  Plus, it looks really cool in the garden.