Showing posts with label seedlings. Show all posts

Saturday, June 8, 2013

Learning about the Tomatillo


Let's learn about the beautiful & tasty tomatillo 
It won't be this sciencey but might include Latin 
(you've been warned)


Let's start with the some fun alternate names for the tomatillo: "Husk Tomato", "Jamberry", "Husk Cherry", "Mexican Tomato".

The tomatillo is native to Central America and was domesticated around 800 B.C. 
     ( see how it went from fun to facts there... it's going to be a wild ride )

There are two main types of tomatillo ( here comes the Latin )
   Physalis ixocarpa : This is the tomatillo you most often see at the market. It's fruit is green and around 2 inches across, it's flavor is tart and it ripens to a pale shade of yellow ( much like our dining room if you have ever been over for dinner )


   Physalis philidelphica : The lesser known of the tomatillo family ( maintaining it's amateur status ) is a slightly sweeter version of the tomatillo we all know and love except it is also purple and grows to a marble size.


The tomatillo is part of the nightshade family ( Solanaceae ) meaning it is related to the tomato, the potato and the eggplant. Not only are the family reunions weird but they are delicious.

When given plenty of sun and well drained and very rich soil they will produce a very high yield. 

Speaking of harvest... transplants will be ready to harvest around 70 - 100 days. You will know to pick when their husks ( or vascular tissue ) begin to split off of the fruit.

not entirely accurate view of splitting tomatillo
more of a stripping tomatillo


The reason I love that I am growing tomatillos you ask ? Well, It is because they are easy to grow. If grown in a pot and given enough drainage, they are very hard to kill. 

Grow a tomatillo this year and share your favorite recipe with us 


Thursday, January 17, 2013

Bean Teepee

We are hoping to build a bean tee-pee to go along with our early planting in February. If you have never had a bean tee-pee they are fun to build, have and eat. You create a great growing area for runner beans and end up with a neat little edible fort and who doesn't love a fort. I might be a technical adult but there is a child inside of me that gets all worked up at the idea of having a fort in the yard.

                                                         photo credit http://lillbutton2.blogspot.com/


Anyway, after a little bit of reading I have seen just how easy it can be to build a bean tee-pee. All you really need is bean seeds or starts, 6 to 8 bamboo or wooden poles each about 6 feet tall and a little wire to bind the whole thing together.
Clear a nice level spot that gets a lot of sun.The size of the circle will vary on the height of the poles ( use your best judgement here ). Once you have your circle set up begin putting out your poles at equal distances around the circle being sure to leave a large enough space in the front to get inside the tee-pee.
Sink each pole about six inches into the soil and lash them together at the top. If it doesn't seem very stable set up support wires horizontally every 2 feet or so ( again being sure to leave yourself room to get inside the tee-pee ).


Once you are set up plant 4 or 5 bean plants per upright and watch it grow.
It is important to ( once your plants have grown ) to harvest inside as much as on the outside to keep your proud structure/fort/trellis from collapsing. 

Enjoy! 


Tuesday, January 15, 2013

Spring is coming

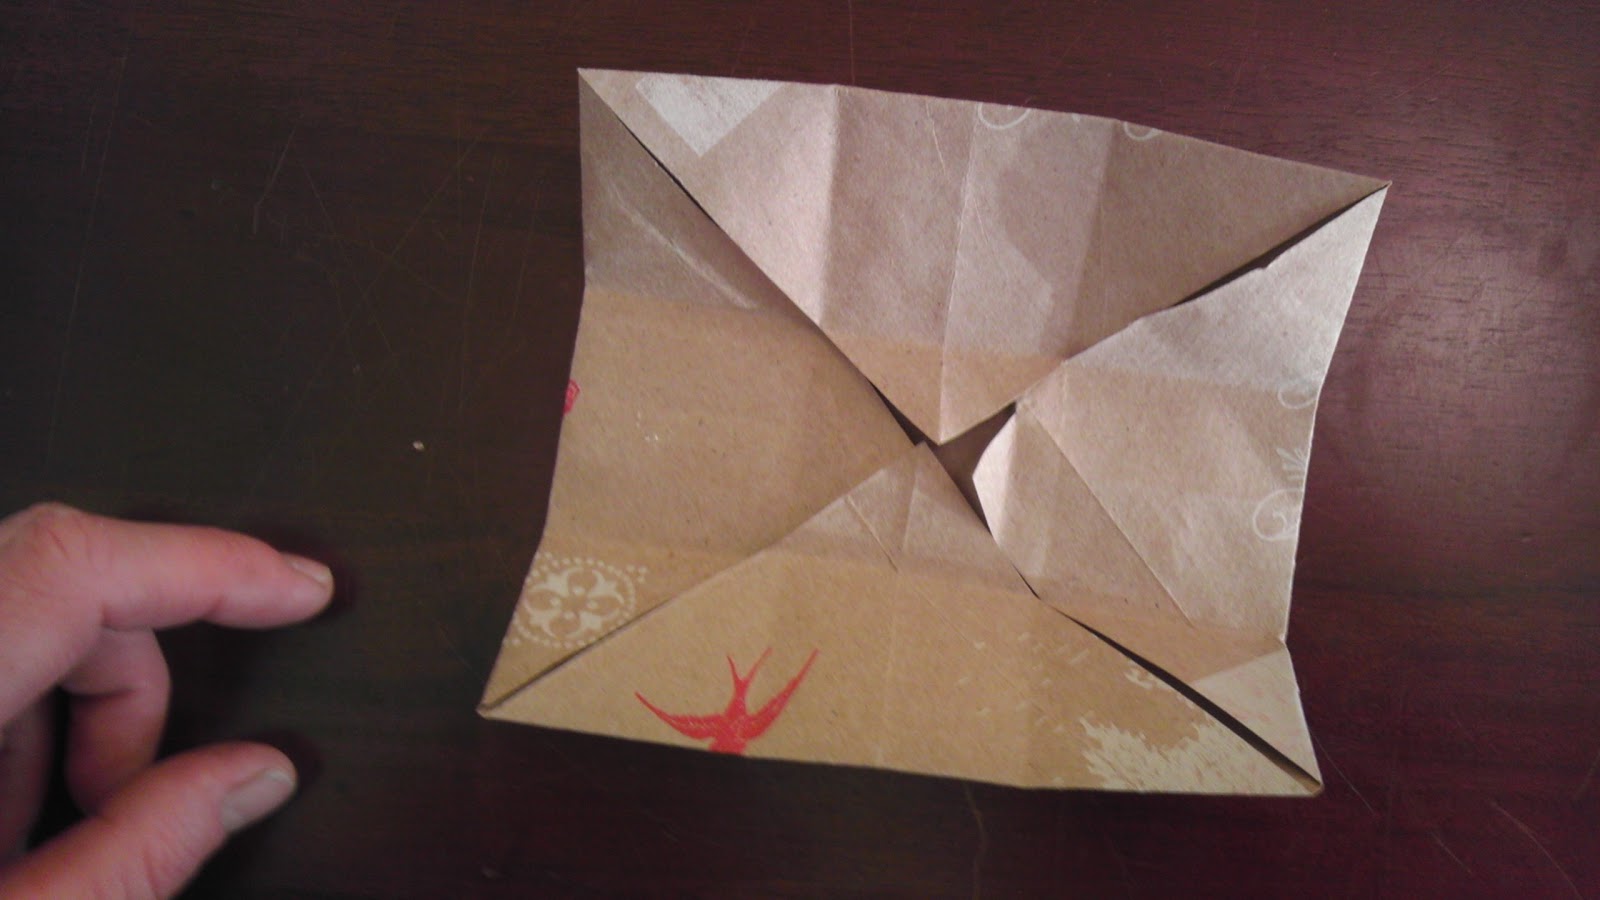
With spring just around the corner ( some of us closer to the corner than others ) some preparations need to be made. For us, the chief among them is getting our sees started. In a previous post we talked about the mini-greenhouses that we germinate in and briefly mentioned the origami boxes we make for each future plant to start in. Here is how to make those boxes.

We start by cutting up a paper bag into 7 x 7 inch squares ( giving us about 10 squares per bag ). 


Then the folding begins. 
Fold the square twice into a triangle.
Unfold your creased triangle
and turn the corners in.

Fold into thirds lengthwise

Crease and again unfold.


Fold in the corners
Fold up the two sides of the 1/3 fold and 
tuck in the ends.

Tuck in the other end.
There you go !
A 1 3/4 square box perfect for starting seeds indoor or outdoor.

Wednesday, January 2, 2013

So many things done

Sooo many things.

We woke yesterday morning with a new years vigor... as it turns out we don't drink enough.

By 9 a.m. we were breaking down pallets to build our raised beds.


By 10 a.m. we were squirrels 
( these things happen ) 


But, by Noon we were building raised beds, working on our GIGANTIC compost bin and generally falling in love with the littlest farm.

Here are some pictures :
building a new compost bin 
(from recycled pallets)

Cutting up pallets to make planter boxes


Raised bed made from 100% recycled materials.

I've said it before and I'll say it again. Pallets are a urban farmers best friend. 


Thursday, December 13, 2012

Starting Seeds


It can be a challenge getting seeds to start on any given day and even more of a challenge in the winter.

In our tiny little home we don't have the space to start seeds inside so creative solutions were needed.

Meghan re-purposed an old shower curtain and used some scrap wood leftover from a previous project and built this awesome mini greenhouse.


When we woke up this morning it was 38 degrees outside but it was nice and toasty in our seed started box. The greenhouse has even accelerated germination on some plants. Seeds that were supposed to take 2 weeks to pop out of the ground were peeking little leaves in just a week. It's amazing what you can do with what might otherwise be garbage.